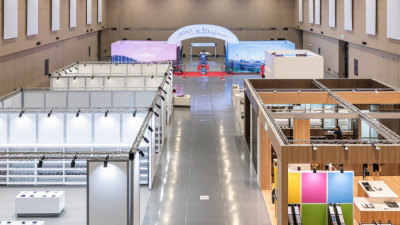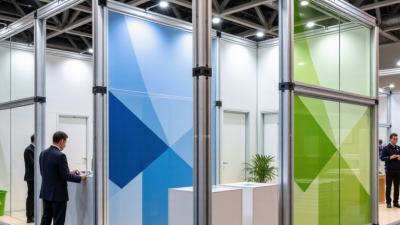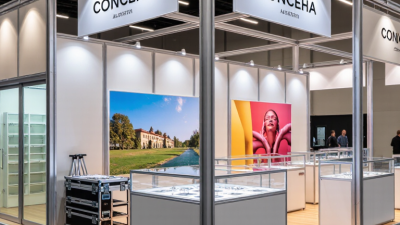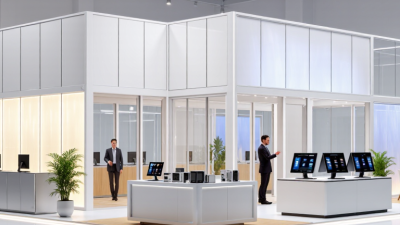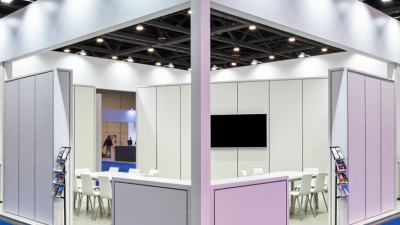
Choosing a Standard Shell Scheme Booth in 2026 is less about picking the largest package and more about making every metre work. A clean 3-by-3-metre stand can feel welcoming when its graphics are readable, its lighting is even, and its counter does not block the entrance. Small details matter. Check the wall height, panel finish, included furniture, power supply, and setup schedule before comparing prices. Ask which items are included and which incur extra charges. A low headline price can hide practical gaps.
For transparency, the following is an original illustrative quote from a fictional composite specialist, not a verified statement by a real person: “A booth works best when visitors understand its offer before they reach the counter.” That idea offers a useful test. Can someone walking past grasp your message in a few seconds? If not, simplify the headline or remove a graphic. Be honest about the limits, too. A standard shell system offers convenience and predictable structure, but less freedom than a custom-built stand. That trade-off may be perfectly reasonable. It depends on your goals, budget, venue specifications, and how often you exhibit. The guide ahead explains what to inspect, what to ask suppliers, and where a seemingly minor choice can affect the visitor experience. One detail is easy to overlook: cable routes. Plan them early, or they may cross the very space you hoped to keep open.
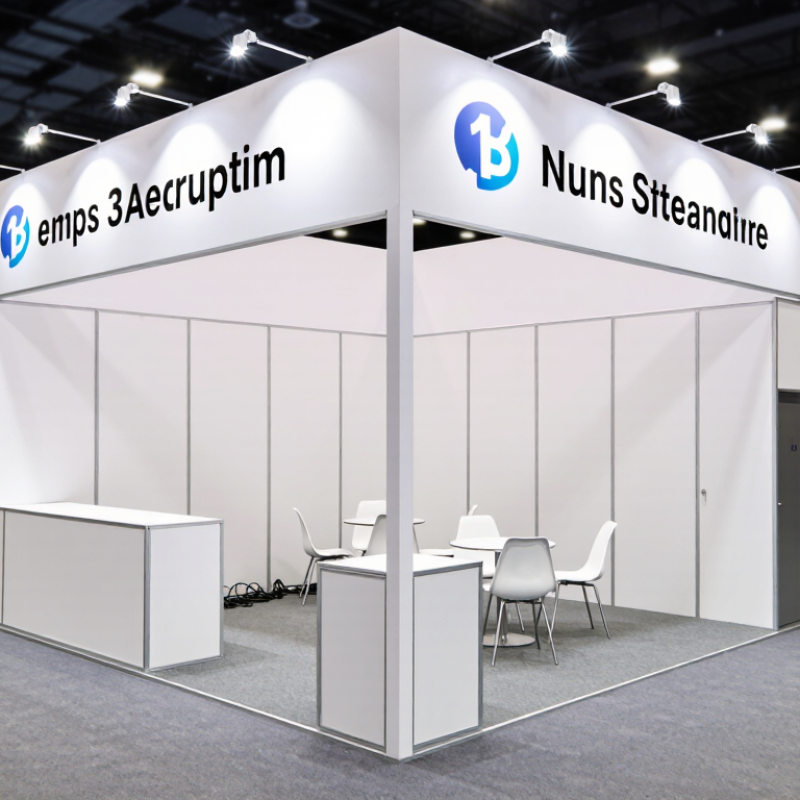
A 3 m × 3 m booth gives you 9 m² of floor space, a common starting module for standard shell schemes. It sounds generous on paper. In practice, a counter, two chairs, product samples, and a visitor can quickly fill the footprint. Measure the usable area in the organizer’s floor plan, since wall thickness and access rules may affect the layout.
Sketch the booth to scale before choosing furniture. A 1 m-wide counter along the rear wall can leave a clear path from the aisle, while a small table near one corner supports conversation without blocking entry. Keep key graphics near eye level and leave room for visitors to pause. Check the supplied wall panels, lighting, power points, and height limits; these vary by event. A layout that worked at one venue may not fit another.
Try a simple test. Mark the 3 m boundaries with tape, then place chairs and boxes where equipment will go. Walk through as if carrying a bag. Awkward? Adjust it. My first sketches often include one display too many, and removing it can make the booth feel more welcoming. Confirm dimensions and included fittings with the event organizer before ordering anything.
Define your space: 3 m × 3 m (9 m²) is a common booth module.
Floor areas are calculated by multiplying the listed width and depth. A 3 m × 3 m booth provides 9 m²; larger footprints shown are multiples of the 3 m module.
A standard shell scheme booth is often built with wall panels about 2.4 m high, according to published exhibitor technical schedules from exhibition organizers and venues. Treat that figure as a planning reference, not a guarantee: panel systems and fascia arrangements vary by event. Check the current exhibitor manual for the finished wall height, fascia position, and any limits on graphics. A printed panel that fits the wall may still be partly hidden by the fascia.
That height affects what visitors can see across a busy aisle. Place the main message near eye level, and test it from several metres away; small text and low-contrast colours disappear quickly. A tall product may sit awkwardly against a 2.4 m wall. Measure it before booking, then ask the organizer about height restrictions, lighting, and permission for anything projecting above the shell.
Details matter. I would not assume that a neighboring stand’s layout is approved for yours. Leave room for cables and fittings, too; a drawing rarely shows every practical obstruction. Check the organizer’s technical schedule before ordering custom graphics, and confirm dimensions with the appointed contractor.
A standard shell scheme booth is built from repeatable wall sections, often 1 m wide. Treat each panel as a separate design zone, not one oversized canvas. Keep logos, product names, and key claims away from panel joins; even a small seam can interrupt a letter or image. Use a full-size panel template from the organiser before artwork is prepared, and confirm the usable print area rather than assuming the frame dimensions equal the graphic dimensions.
Freeman’s 2024 attendee research reports that 77% of attendees consider in-person events the best way to discover new products. Make that discovery easy: place one clear message at eye level, then support it with a real product image or a concise feature. Short text wins. Check the layout from the aisle, not only on a laptop. A visitor may see just two panels at an angle, while overhead lights can wash out pale colours.
A simple panel grid helps, but it is not foolproof. Test the design at actual size, including bleed, safe margins, and any concealed edges. Small labels often look readable on screen and weak across a busy hall. Leave breathing room around the main image. It can feel like wasted space during design, yet crowded graphics are harder to scan. Recheck the plan against the final stand dimensions; modular systems and venue fittings can vary.
How to Choose a Standard Shell Scheme Booth in 2026?
Fit Displays and Visitor Routes Within the 9 m² Footprint
A standard shell scheme booth often measures 3 by 3 metres, but usable space can feel smaller once furniture and displays arrive. Check the floor plan for wall positions, openings, and any columns before choosing your layout. A counter near the entrance can welcome visitors, yet placing it across the opening may create a bottleneck. Keep the main route easy to read. People should be able to step in, pause, and leave without squeezing past a display.
Choose a few focused exhibits rather than filling every wall. For example, a narrow shelf can hold samples while a small screen sits at eye level. Keep heavier items low and secure, and leave room for visitors to stand together. A tape outline on the floor can help you test the arrangement before the event. It is not perfect, but it can reveal awkward turns early. Remember to check organizer rules for permitted display heights and fittings.
Tips: Measure furniture, not just the booth. Keep bags and boxes out of sight. Leave a clear path from the entrance. Test your layout with two people standing inside.
How to Choose a Standard Shell Scheme Booth in 2026?
A standard shell scheme can look affordable until venue charges appear. Check the exhibitor manual before comparing packages. Confirm wall height, fire-rating documents, power limits, and rules for signs or suspended items. These details vary by venue. Small differences matter.
Ask for an itemized quote. Separate the shell, fascia sign, carpet, lighting, and furniture from extras such as sockets, internet, cleaning, graphics, and handling. “Basic power” may mean one outlet, not enough capacity for a screen and product demo. The CEIR Index, published in 2024, reported that U.S. exhibition performance in 2023 had recovered to about 84% of its 2019 level. That uneven recovery makes careful cost control useful, but it does not predict your event’s prices. Request rates and deadlines directly from the organizer or venue.
Tips: Compare like with like. Get written confirmation of what is included, when services will be installed, and whether labor or late-order fees apply. Measure the stand footprint against your planned furniture. A neat package can still feel cramped. I still find one detail easy to overlook: the power drop may sit behind a wall panel, where cables become awkward. Check the floor plan before signing.
Use this comparison as an early planning guide for a standard shell scheme booth. Venue requirements and package inclusions differ by event, so confirm the current exhibitor manual, order forms, and deadlines before booking.
| Comparison item | What to check or plan for | 9 m² booth (3 m × 3 m) |
18 m² booth (3 m × 6 m) |
36 m² booth (6 m × 6 m) |
|---|---|---|---|---|
| Venue rules and booth planning | ||||
| Stand height and structure | Check the event’s permitted wall and fascia heights, structural limits, and rules for anything extending above or beyond the shell scheme. Do not assume the same limits apply at every venue. | Confirm the standard wall height and any restrictions on added displays. | Check rules for taller graphics or structures near adjoining stands. | Confirm whether larger or more complex structures need prior approval. |
| Open sides and boundaries | Verify which sides are open, the location of neighboring stands, and any limits on blocking shared aisles or sightlines. | Typically plan around one aisle-facing side, subject to the floor plan. | Check whether the stand is a corner, end-cap, or inline position. | Confirm the allocated perimeter and any open-side design requirements. |
| Fire and materials | Check venue requirements for flame-retardant materials, enclosed areas, storage, and fire-safety documentation. | Obtain material certificates if requested for added graphics or furnishings. | Review requirements for larger graphic surfaces and stored items. | Ask whether additional plans or approvals are required for the layout. |
| Electrical and services | Confirm the permitted electrical connections, socket locations, lighting limits, and order deadlines. Electrical work may need to be supplied or approved by the event’s appointed contractor. | Allow for a basic connection and one socket if required. | Plan socket positions around product displays and meeting areas. | Check load requirements and whether separate circuits are needed. |
| Orders and move-in | Review advance-order cutoffs, contractor access, delivery and handling procedures, and move-in and move-out schedules. | Keep deliveries and setup simple where possible. | Allow time to install graphics and arrange furniture. | Coordinate larger deliveries, labor, and setup sequencing early. |
| Typical shell scheme items | A standard package commonly includes modular walling and a fascia board; flooring, lighting, power, furniture, and graphics may be included, optional, or separately charged. Check the package specification. | Confirm fascia name lettering and exactly what flooring is provided. | Check the number of wall panels and fascia details. | Confirm the layout, panel configuration, and any package limits. |
| Illustrative itemized stand costs (USD) | ||||
| Exhibition space | Planning assumption: $300 per m². Actual rates depend on the event, location, stand position, and booking terms. | $2,700 | $5,400 | $10,800 |
| Shell scheme package | Planning assumption: $90 per m² for basic modular walling and fascia. Verify the organizer’s package contents and price. | $810 | $1,620 | $3,240 |
| Electrical connection | Illustrative allowance for a basic connection; final cost depends on the event’s rate card, power needs, and order timing. | $250 | $400 | $700 |
| Graphics | Illustrative allowance for printed stand graphics; design, material, coverage, and installation affect the final cost. | $500 | $900 | $1,600 |
| Furniture | Illustrative allowance for basic furniture rental. Check whether any furniture is already included in the shell scheme package. | $250 | $400 | $700 |
| Handling and labor | Illustrative allowance for basic onsite handling or labor; delivery, storage, overtime, and venue procedures can change this cost. | $350 | $650 | $1,200 |
| Estimated subtotal | Sum of the illustrative items above; excludes taxes, travel, accommodation, shipping, and any unlisted services. | $4,860 | $9,370 | $18,240 |
Cost figures are indicative planning estimates for 2026, not venue quotations or guaranteed market prices. Obtain an itemized quote and check for taxes, service charges, late-order fees, and package overlaps before comparing offers.